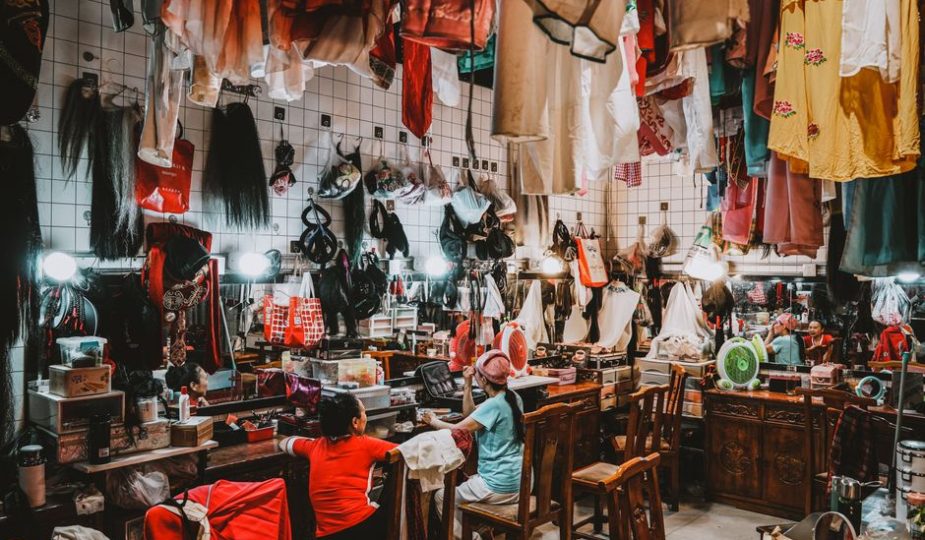
The change started on an ordinary Tuesday. I opened my closet to find plenty of clothes and nothing that felt right. Several pieces still had tags. Others needed repairs, a better fit, or an occasion that never arrived. I stopped buying new clothing and gave myself one rule: every future piece had to be secondhand.
That rule did not create a perfect wardrobe overnight. It did create a slower, sharper way to shop. I learned to buy for real gaps, inspect fabric and seams, and leave good bargains behind when they did not fit my life.
Why a Secondhand-Only Wardrobe Made Sense
The real problem was not a lack of clothes
My closet problem came from buying isolated items instead of useful outfits. A pretty jacket looked like a bargain, but it did not work with my shoes or trousers. A cheap sale top seemed harmless, yet five similar tops made laundry and outfit planning harder. A secondhand-only rule forced me to ask a better question: what job must this garment perform?
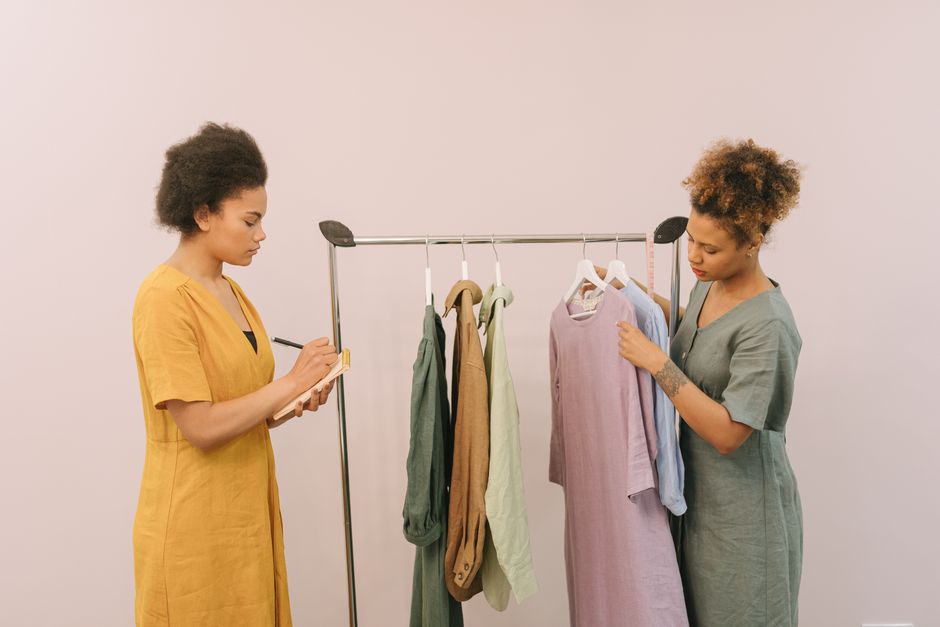
I started with a simple inventory. I counted everyday tops, trousers, dresses, outer layers, shoes, and bags. Then I marked pieces that were worn weekly, pieces that needed replacing, and pieces that had no clear role. The gaps became my shopping list. The list stayed short.
The rule changed my buying behavior
Secondhand shopping works best when the goal is not to find something cheap. The goal is to find something useful at a fair price. I stopped browsing for entertainment and searched for exact categories, colors, measurements, and fabrics. My verdict is clear: a secondhand-only wardrobe is worth the effort for anyone who wants fewer impulse purchases and more control over personal style.
The Buying Rules That Kept Me Honest
I needed limits because thrift stores can make almost anything feel urgent. These were my target prices. They are personal buying ceilings, not promises that every listing will sell at the same rate. Condition, fabric, size, and location can move the price in either direction.
| Wardrobe piece | Useful secondhand target | Inspection priority |
|---|---|---|
| Levi’s 501 jeans | $25–$60 | Waist measurement, crotch wear, hem damage |
| Patagonia Better Sweater | $45–$90 | Pilling, zipper movement, fleece thinning |
| Dr. Martens 1461 shoes | $60–$110 | Sole separation, heel wear, leather cracks |
| Vintage Coach leather bag | $70–$180 | Strap edges, lining stains, hardware function |
Buy the anchor pieces first
I began with items that could support several outfits: straight-leg jeans, a dark wool coat, a washable knit, leather shoes, and one practical bag. The Levi’s 501 became my first denim target because the shape works with shirts, sweaters, and blazers. I did not buy the first pair I found. I waited for the right waist, rise, and hem.
For outerwear, the Patagonia Better Sweater made sense when I found one between $45 and $90 in clean condition. It added warmth without requiring a special outfit. That kind of repeat use matters more than a famous label.
Skip attractive mistakes
I passed on white trousers with faint marks, shoes with deep heel wear, and knitwear with stretched necklines. I also skipped items that needed more than a minor repair. A $20 garment that needs $45 of tailoring is not a $20 garment. The best rule is simple: if the item only works in an imagined future outfit, leave it behind.
How I Built the Wardrobe in Four Passes
The wardrobe became easier when I treated it as a small project instead of a series of lucky finds. I bought in passes, allowing each group of purchases to reveal the next gap.
Pass one: edit before shopping
- Remove damaged pieces that will not be repaired within 30 days.
- Set aside clothes that do not fit your current body or daily routine.
- Photograph the pieces you wear most often.
- Write down five real gaps, such as black trousers, rain shoes, or a warm layer.
This first pass prevents duplicate purchases. It also shows your true color pattern. My closet was mostly navy, cream, black, olive, and denim, so I stopped chasing colors that looked exciting on a shop floor but never left the hanger.
Pass two: create outfit tests
- Choose one missing item and list three outfits it must complete.
- Search by measurements, not only by labeled size.
- Ask for extra photos of cuffs, underarms, hems, and inner seams.
- Wait 24 hours before buying online.
My third pass focused on replacements. I only replaced a worn item after confirming that the new piece solved the same problem better. My fourth pass added personality: a patterned scarf, unusual earrings, or a vintage jacket. Personality came last because it is easier to style one expressive piece when the basics already work.
My strongest process rule
Every purchase had to make at least three outfits with clothes I already owned. This single test removed most tempting mistakes. It also made secondhand shopping feel less restrictive. I was not trying to recreate a perfect minimalist closet. I was building a wardrobe with fewer dead ends.
How I Judged Quality Before Paying
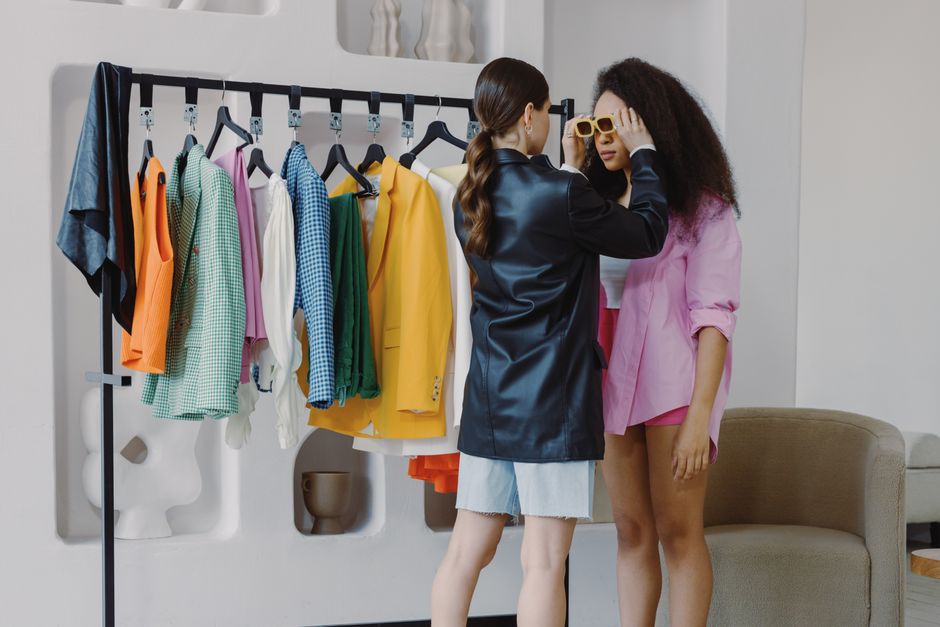
Labels helped, but construction decided the purchase. A familiar brand can still produce a poor fit or a damaged garment. An unknown label can offer excellent fabric and careful sewing. My best buys came from using a fixed inspection order.
Start with fabric and weight
Hold the garment toward a bright window. Look for thinning areas, uneven dye, shiny patches, and tiny holes. Rub the fabric lightly between your fingers. Wool should feel dense rather than papery. Cotton should not feel brittle. A heavy denim pair often holds its shape better than a thin stretch pair, but comfort still matters.
For a Dr. Martens 1461 pair, I check the sole and heel before admiring the leather. Replacing worn soles can cost enough to erase the bargain. For a vintage leather bag, I flex the strap near each attachment point and test every zipper and clasp. Cosmetic marks are acceptable. Structural damage is not.
Check the places sellers forget
Inspect underarms, crotch seams, pocket openings, collars, cuffs, and the inside lining. These areas reveal wear faster than the front of a garment. Smell the item outdoors if possible. Strong perfume may be hiding smoke, mildew, or cleaning chemicals.
I also compare measurements with a garment I already own. For trousers, I measure the waistband, rise, inseam, and thigh. For a jacket, I measure shoulder width, chest, sleeve length, and back length. A labeled medium can differ by several centimeters between brands and decades. Measurements beat guesswork.
Know when repair is sensible
A loose button, missing belt loop, or small hem issue is manageable. A warped zipper, moth damage across a large panel, peeling synthetic leather, or a badly altered shoulder is a warning. My verdict: buy a visibly used item only when the repair is cheap, clear, and still leaves the final price below a clean alternative.
What I Would Do Differently Now
What was the hardest part?
The hardest part was accepting an imperfect timeline. I wanted a complete wardrobe after one season. Secondhand shopping does not work that way. The right coat may appear in October, while the right trousers may take six months. I learned to borrow, repair, or restyle what I owned instead of filling every gap immediately.
Should every item be secondhand?
No. I still buy new underwear, socks, and some technical basics when hygiene, fit, or safety makes used clothing a poor choice. I also buy new replacement buttons, thread, and shoe-care supplies. The point is to make secondhand the default for fashion purchases, not to turn a useful rule into a punishment.
What is the clearest result?
I shop less often, spend more carefully, and know my style better. My favorite pieces are not the rarest finds. They are the clothes that survive ordinary days: the jeans that fit after washing, the coat that works over every sweater, and the bag that carries what I actually need. For anyone starting a secondhand-only wardrobe, begin with a written gap list, set firm price limits, and buy the piece that completes three existing outfits. That approach gives you the best chance of building a closet that feels personal, practical, and genuinely yours.